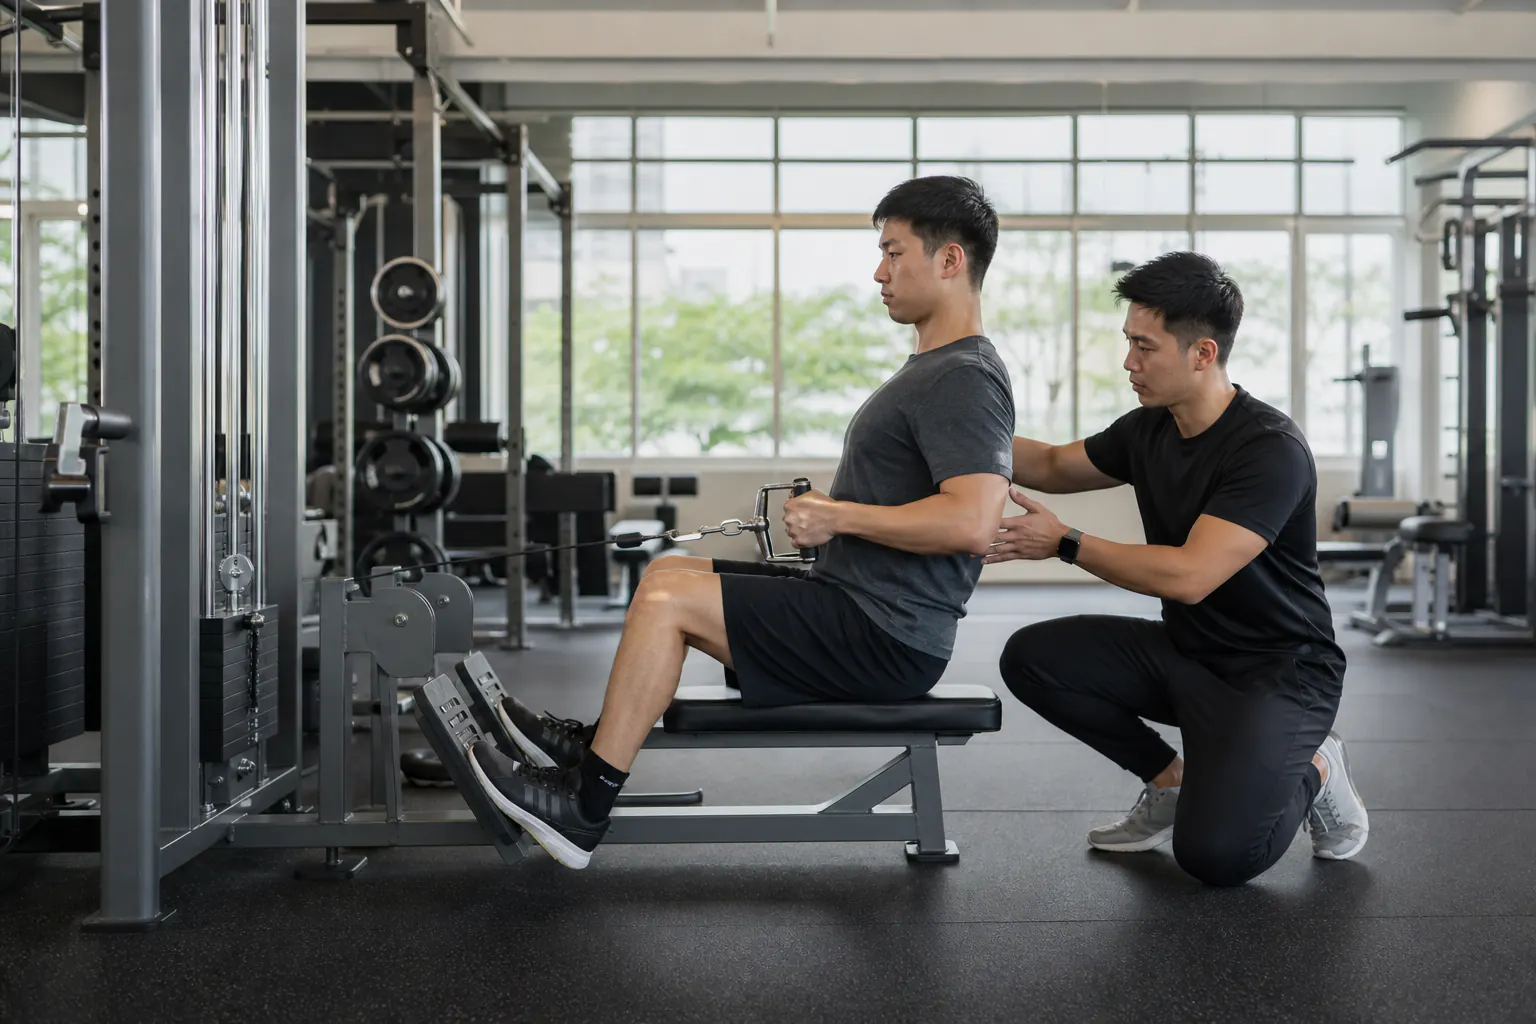
Master the Valsalva maneuver for safer, stronger lifts. Step-by-step bracing guide for squats, deadlifts, and pressing with safety considerations.
Every strong lifter uses it. Most beginners have never heard of it. The Valsalva maneuver - taking a deep breath and bracing your core against a closed airway - is the single most important technique for heavy lifting safety and performance.
If you have ever been told to "breathe normally" while squatting heavy, that person gave you terrible advice. Here is what you actually need to do.
What Is the Valsalva Maneuver?
The Valsalva maneuver is a breathing and bracing technique where you:
- Take a deep breath into your belly (not your chest)
- Close your glottis (the back of your throat) to trap the air
- Brace your abdominal muscles outward against that trapped air
- Maintain this brace throughout the rep
- Exhale after completing the rep (or at the top of the movement)
This creates intra-abdominal pressure (IAP) - essentially turning your torso into a rigid cylinder. That cylinder supports your spine far more effectively than your back muscles alone.
Think of it like inflating a balloon inside your abdomen. The pressure pushes outward in all directions - against your abdominal wall, against your lower back, against your pelvic floor, and against your diaphragm. This 360-degree pressure creates spinal stability.
Why Intra-Abdominal Pressure Matters
Your spine is a stack of bones (vertebrae) separated by discs. Under heavy load - like a 100kg squat sitting on your back - your spine needs support beyond what your spinal erectors can provide.
Research from biomechanics labs has demonstrated that proper IAP reduces compressive forces on the lumbar spine by up to 40%. That is enormous. It means the difference between a safe heavy lift and a disc injury.
A 2019 study in the Journal of Biomechanics measured IAP during squats and found that lifters who used the Valsalva maneuver generated significantly higher IAP than those who breathed normally, resulting in a more stable trunk and higher force output.
In plain terms: you are both safer AND stronger when you brace properly.
Step-by-Step: How to Perform the Valsalva Maneuver
Step 1: Breathe Into Your Belly
Stand in front of a mirror. Place one hand on your chest and one on your stomach. Take a deep breath. If your chest rises and your stomach stays flat, you are breathing wrong for this purpose.
You want diaphragmatic breathing - your belly should expand forward, sideways, and into your lower back. Your chest should barely move. Practice this standing and lying down until it feels natural.
Step 2: Fill Up to About 80%
You do not need the deepest breath possible. About 80% of your maximum lung capacity is ideal. Too much air can cause dizziness. Too little will not create sufficient pressure.
Step 3: Close Your Throat and Brace
With the air trapped, tighten your abdominal muscles as if someone is about to punch you in the stomach. Push your abs outward against the air - do not suck them in. Imagine you are trying to push your belly button away from your spine while keeping the air locked.
You should feel pressure in your midsection from all sides - front, back, and both flanks.
Step 4: Maintain Throughout the Rep
For a squat, the brace should hold from the moment you unrack the bar until you return to the top of the rep. For a deadlift, from just before you pull until lockout.
Do not exhale at the bottom of a squat. That is the point of highest spinal load - the absolute worst time to release pressure.
Step 5: Reset Between Reps
At the top of each rep, exhale and immediately take another breath and re-brace. Do not rush this. One second of proper bracing between reps prevents cumulative fatigue from degrading your technique.
How to Practice
The Belt Test
If you have a lifting belt (more on that below), put it on loosely - about one notch looser than your working tightness. Now practice breathing and bracing against the belt. You should feel your abdomen pushing into the belt in all directions - not just the front.
If you do not own a belt, wrap your hands around your waist with your fingers interlocking over your belly. Brace and feel your abdomen push your hands outward. That is correct IAP.
The Cue That Works
I tell my clients at the gym: "Breathe into your belt, then try to make yourself as wide as possible." This cue consistently produces good bracing in beginners.
Another effective cue: "Pretend you are constipated." Crude, but it gets the right muscles to fire.
Which Exercises Need the Valsalva?
Essential (Always Brace)
- Back squat
- Front squat
- Conventional deadlift
- Sumo deadlift
- Overhead press
- Barbell row (heavy)
- Any loaded carry (farmer's walk, yoke)
Recommended (Brace on Heavy Sets)
- Bench press (moderate IAP - you are lying down, so spinal load is lower)
- Leg press (if using heavy loads)
- Dumbbell pressing (heavy sets)
- Loaded lunges
Not Necessary
- Isolation exercises (curls, lateral raises, pushdowns)
- Light machine work
- Bodyweight exercises at low intensity
- Stretching
Safety Considerations
Blood Pressure Spike
The Valsalva maneuver causes a temporary spike in blood pressure. For healthy individuals, this is not dangerous - your blood pressure returns to normal within seconds of exhaling.
However, if you have:
- Diagnosed hypertension
- Heart disease
- A history of stroke
- Retinal issues (detached retina, severe myopia)
Then you should consult your doctor before using the Valsalva maneuver under heavy loads. This is not optional advice - it is genuinely important.
For most healthy gym-goers in their 20s, 30s, and 40s with no cardiovascular issues, the Valsalva is safe and recommended.
Dizziness
If you feel lightheaded during or after a heavy set, you held your breath too long or took too large a breath. Reset between reps rather than holding your breath for multiple reps. On sets of 5+ reps, you might need to take a partial breath at the top of each rep - a quick "sip" of air while maintaining some bracing.
Headaches
Exertion headaches during heavy lifting sometimes relate to excessive Valsalva. If you get sharp headaches during maximal efforts, reduce intensity temporarily and consult a doctor. These are usually harmless but should be evaluated.
The Valsalva and Lifting Belts
A lifting belt amplifies the Valsalva maneuver. It gives your abdominal muscles something to push against, increasing IAP beyond what you can generate without one.
A good leather belt (10mm or 13mm thick, 10cm wide) costs RM150-350 in Malaysia. Brands like SBD, Inzer, and Pioneer are premium options, while locally available brands from Shopee or Lazada in the RM80-150 range work fine for most lifters.
When to use a belt:
- Working sets above 80% of your one-rep max on squats and deadlifts
- Heavy overhead pressing
- Sets where bracing feels challenging
When NOT to use a belt:
- Warm-up sets
- Isolation exercises
- Every single exercise (your core needs to learn to brace without external support)
The belt does not replace proper bracing technique - it enhances it. A lifter who cannot brace without a belt will not magically brace well with one.
Common Bracing Mistakes
Sucking the belly in. This is the opposite of what you want. Drawing your belly button toward your spine reduces IAP. Push outward.
Chest breathing. Filling your chest with air does not create abdominal pressure. Breathe into your belly.
Releasing at the bottom. Your exhale should happen at the top of the rep, not during the hardest part of the movement.
Not bracing hard enough. Light bracing is better than nothing, but for genuinely heavy loads, you need to brace like your life depends on it. Maximum effort.
Holding breath for too many reps. On sets of 3 or fewer reps, one breath per set can work. On sets of 5+, reset your breath at the top of each rep. Attempting to hold one breath through a set of 8 squats is a recipe for passing out.
Master the Valsalva maneuver and your heavy lifts will feel more stable, your back will stay healthier, and your strength numbers will climb. It is not a shortcut - it is fundamental technique that every serious lifter needs.
Part of our comprehensive guide:
The Complete Guide to Personal Training Methods in Malaysia→Also in this series:
Related Articles
Find a Personal Trainer
Ready to put this into practice? Connect with a certified personal trainer near you, or explore by service and goal.