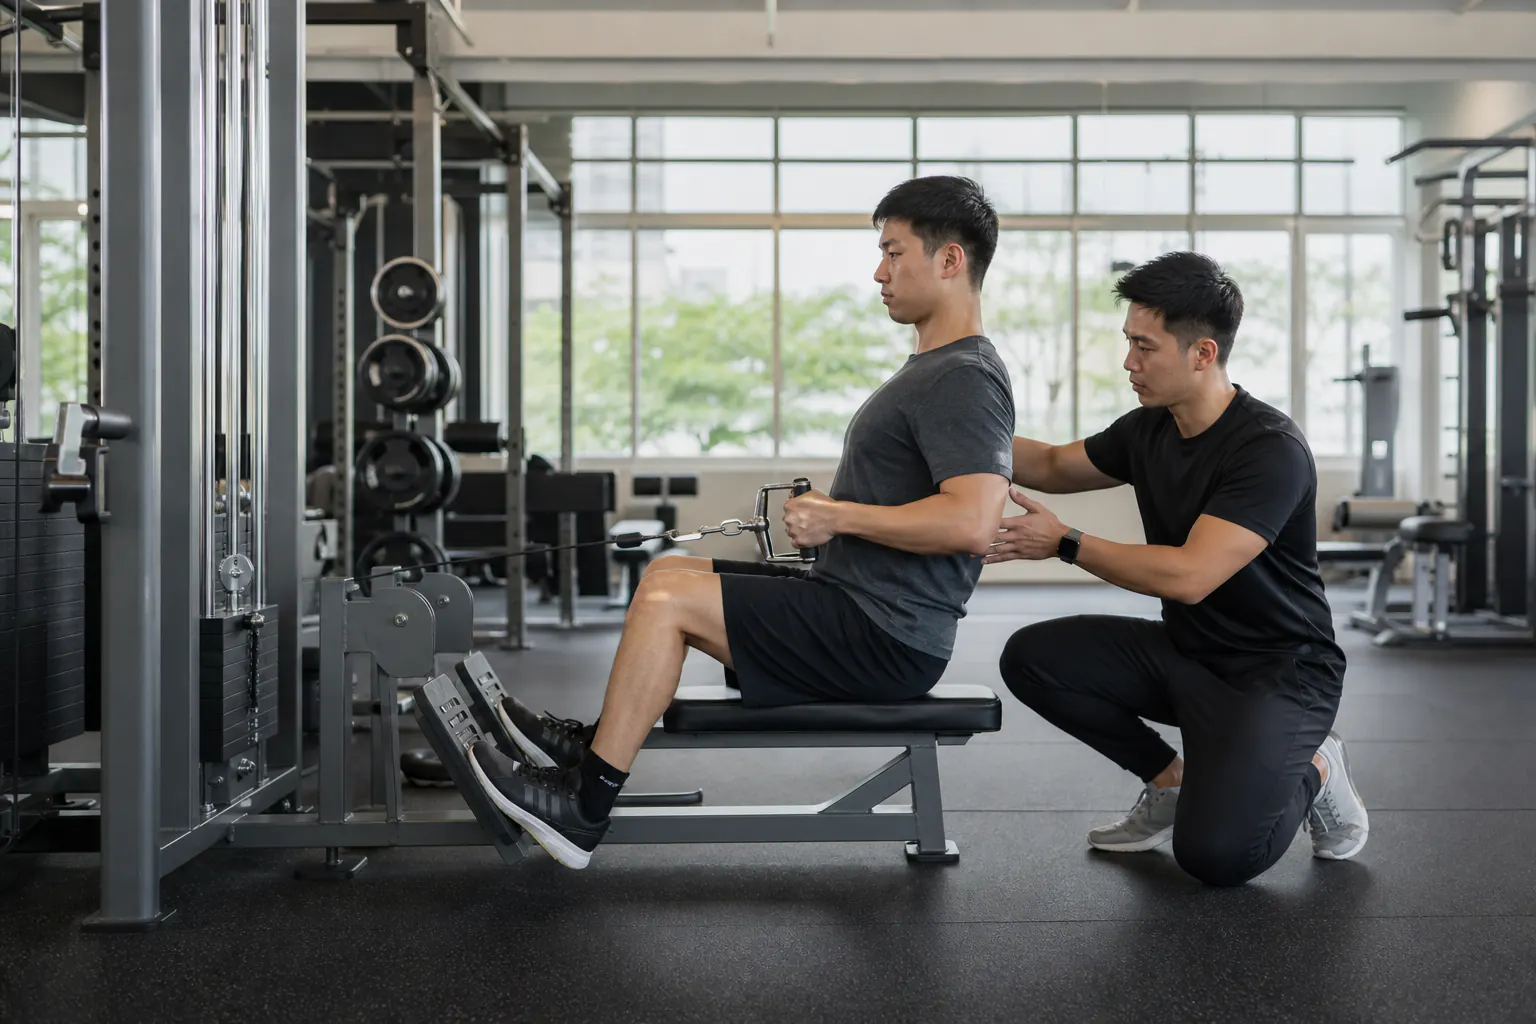
Master seated cable row form for maximum back development. Covers grip variations, common mistakes, and programming for back thickness and strength.
The seated cable row is one of the most popular back exercises in any gym. It is also one of the most commonly performed with terrible form. Walk into any commercial gym in Malaysia during peak hours and you will see people yanking the cable with their entire body, leaning back 45 degrees, and using momentum to move weight that their back muscles cannot actually handle.
When done properly - with controlled technique and a focus on scapular retraction - the seated cable row is one of the best exercises for building a thick, detailed back. When done with ego weight and body English, it is a lower back exercise that barely touches the target muscles.
The Correct Setup
Foot Placement
Place your feet firmly on the foot platform with a slight bend in your knees - about 15-20 degrees. Do not lock your knees straight. Do not bend them excessively into a squat position. A moderate bend removes tension from your hamstrings and allows you to maintain an upright torso.
Torso Position
Sit tall with a slight forward lean - about 5-10 degrees from vertical. Chest up. Shoulders back. Core engaged. This is your starting position and, critically, this is roughly the same position you should be in at the end of each rep.
Your torso angle should not change more than 10-15 degrees throughout the movement. If you are rocking back and forth like a pendulum, the weight is too heavy.
Grip
Reach forward and grab the handle. Pull your shoulders back to establish tension in the cable before you start rowing. This pre-tension ensures you start each rep from a strong position with the lats engaged.
The Row: Step by Step
Phase 1: Initiate With the Shoulder Blades
Before your arms bend at all, pull your shoulder blades together (retract your scapulae). This is the most important part of the movement and the step most people skip. Scapular retraction activates the rhomboids and middle traps, which are the primary drivers of back thickness.
If you pull with your arms first, your biceps do most of the work and your back barely gets stimulated.
Phase 2: Pull to Your Lower Chest or Upper Abdomen
Continue the pull by bending your elbows and driving them past your torso. The handle should travel toward your lower chest or the top of your abdomen - not your belly button (too low) and not your neck (too high).
At the peak contraction, your elbows should be behind your torso, your shoulder blades should be fully retracted, and you should feel a strong squeeze in the muscles between and around your shoulder blades.
Phase 3: Hold the Contraction
Pause for 1-2 seconds at peak contraction. This is where the actual back development happens. If you cannot hold the weight in the contracted position for a full second, it is too heavy.
Phase 4: Controlled Return
Extend your arms forward in a slow, controlled manner. Let your shoulder blades protract slightly at the end - this gives you a stretch on the lats and a full range of motion. Take about 2 seconds for the return phase.
Do not let the weight stack slam down between reps. Maintain tension in the cable at all times.
Grip Variations and Their Effects
Close-Grip V-Handle (Neutral Grip)
The standard attachment for seated cable rows. Palms face each other. This grip emphasises the middle back - rhomboids, middle traps, and the lower lats.
Good for: general back thickness, overall back development.
Wide-Grip Straight Bar (Pronated)
Attach a straight bar or lat pulldown bar. Grip wider than shoulder width with palms facing down. This shifts emphasis toward the rear delts, upper traps, and the outer portions of the lats.
Pull the bar toward your upper chest with elbows flared at about 60-70 degrees.
Good for: upper back width and rear delt development.
Single-Arm Handle
Use a single D-handle and row with one arm at a time. This allows a greater range of motion, identifies strength imbalances between sides, and lets you rotate your torso slightly at the end of each rep for an extended stretch on the lat.
Good for: addressing imbalances, improving mind-muscle connection.
Rope Attachment
Grip the rope with thumbs up (neutral grip). Pull toward your face level, splitting the rope ends to either side of your head at the end. This turns the seated row into a face pull variation that hammers the rear delts and external rotators.
Good for: shoulder health, rear delt development, posture correction.
Common Seated Cable Row Mistakes
Excessive Torso Lean
The biggest and most common error. Leaning forward excessively at the start and backward excessively at the finish creates a rowing-machine movement that is driven by hip extension and momentum, not back contraction.
Your torso angle should stay within 10-15 degrees of upright throughout the entire set. If you need to swing to move the weight, drop by 20-30 percent and focus on pulling with your shoulder blades.
Shrugging the Shoulders
If your shoulders rise toward your ears during the pull, your upper traps are taking over. Depress your shoulders - pull them away from your ears - before initiating the row.
Elbow Flare on Close-Grip Rows
When using a V-handle, your elbows should travel close to your body, brushing your sides. If they flare outward, you are recruiting more rear delt and less lat/rhomboid.
No Scapular Retraction
Pulling with bent arms without first retracting the shoulder blades. This makes it a bicep exercise, not a back exercise. Think "shoulder blades together first, then bend the arms."
Straightening the Knees
Some people straighten their legs during the pull to generate momentum through the hamstrings and lower back. Keep that 15-20 degree bend constant throughout the set.
Programming the Seated Cable Row
For Hypertrophy (Muscle Size)
- 3-4 sets of 10-12 reps
- 2-1-2 tempo (2 seconds pulling, 1 second hold, 2 seconds return)
- Rest 90 seconds between sets
- Use a weight that makes the last 2 reps genuinely hard but does not compromise form
For Strength
- 4 sets of 6-8 reps
- Controlled tempo, but no need for exaggerated pauses
- Rest 2-3 minutes
- Heavier weight, strict form
For Posture Correction (Office Workers)
- 3 sets of 15-20 reps
- Light weight, emphasis on scapular retraction and hold
- 3-second hold at peak contraction
- Perform 2-3 times per week
Where Does the Seated Cable Row Fit in Your Programme?
In a pull-focused session, the seated cable row works well as a second or third exercise after a heavy compound pull:
- Barbell row or Pendlay row: 4 x 6 (heavy compound)
- Weighted pull-up or lat pulldown: 4 x 8 (vertical pull)
- Seated cable row: 3 x 10-12 (horizontal pull, moderate weight)
- Face pull: 3 x 15 (rear delt/rotator cuff)
- Bicep curl: 3 x 12 (arm isolation)
This order places the seated cable row after the heaviest exercises when your back is partially fatigued. The cable's constant tension makes it effective even at lighter weights, which is why it works well later in a session.
Cable Row vs Barbell Row
Both are horizontal pulling movements, but they train differently.
Barbell rows are harder on the lower back (isometric hold in the hinged position), allow heavier absolute loads, and have a free-weight stability demand. They build overall back strength and mass.
Cable rows eliminate the lower back demand (you are seated), provide constant tension throughout the range of motion, and allow for more controlled, slower repetitions. They build back detail and mind-muscle connection.
Use both. Barbell rows for strength and overall mass. Cable rows for detail, hypertrophy, and as a back exercise you can do on days when your lower back is fatigued from deadlifts or squats.
The seated cable row is a back exercise. Treat it like one - control the weight, pull with your shoulder blades, hold the contraction, and leave your ego at the weight stack. Your back will grow. Your posture will improve. And your bench press will probably go up too, because a stable upper back is the foundation of a strong press.
Part of our comprehensive guide:
The Complete Guide to Personal Training Methods in Malaysia→Also in this series:
Related Articles
Find a Personal Trainer
Ready to put this into practice? Connect with a certified personal trainer near you, or explore by service and goal.