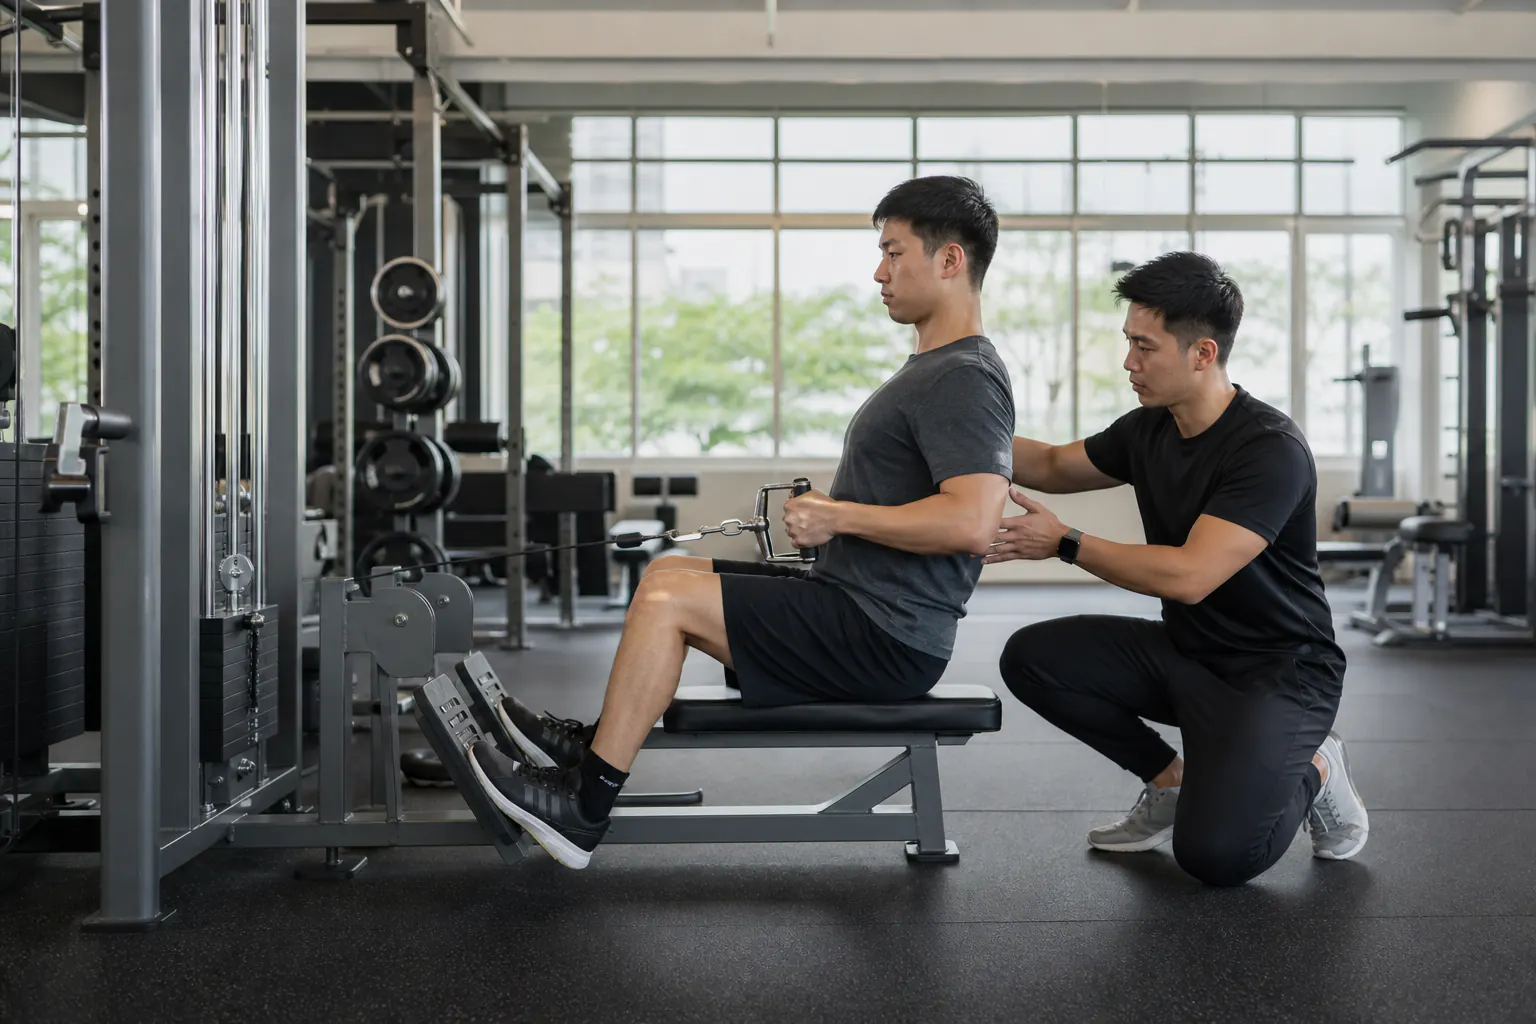
Use pin squats to overcome squat plateaus by building strength at your weakest point. Setup, programming, and common mistakes explained for lifters.
Every lifter who has spent serious time under the bar knows the feeling. You descend into a squat, start the drive up, and then you hit a wall. The bar decelerates, grinds to a near stop, and you either barely lock it out or dump it on the safeties. That wall is your sticking point, and pin squats are one of the most effective tools for demolishing it.
What Are Pin Squats?
Pin squats - also called Anderson squats, named after the legendary Paul Anderson - involve squatting from the bottom up. You set the safety pins in a power rack at a specific height, rest the barbell on those pins, position yourself under the bar, and press it up from a dead stop.
There is no eccentric (lowering) phase. No stretch reflex. No stored elastic energy. You generate force from zero against a dead weight, which is about as hard as squatting gets.
Why Pin Squats Fix Sticking Points
Your sticking point exists because you are weakest at a specific joint angle during the squat. For most people, this is somewhere between the bottom position and about 30 degrees above parallel - the zone where your quads and glutes are at a mechanical disadvantage.
When you squat normally, momentum from the descent helps carry you through this weak zone. Remove that momentum - which is exactly what pin squats do - and you are forced to develop strength specifically at the angle where you are weakest.
It is targeted strength training at its most precise. You literally set the pins at your sticking point height and force your muscles to get stronger there.
How to Set Up Pin Squats
Finding Your Pin Height
This requires some self-awareness. Film yourself from the side during a heavy squat set - at or above 90 percent of your max. Watch where the bar decelerates. Where it slows down most dramatically is your sticking point.
Common sticking point heights:
- Just above parallel: Most common for high-bar squatters and lifters with relatively weak quads
- At parallel: Common for lifters with adequate quad strength but weak glutes
- Just out of the hole (5-10cm above bottom): Common for low-bar squatters and those with weak hip extensors
Once you identify your sticking point, set the safety pins at that height. The bar should rest on the pins at the exact position where your squat normally stalls.
Body Position Under the Pins
This is where many people mess up. Walk into the rack, position yourself under the bar as if you were at the bottom of a squat, and set your back, core, and leg position exactly as they would be during a normal squat at this depth.
Your feet should be in your normal squat stance. Your back angle should match your normal squat. Your knees should be in the same position. The only difference is that you are starting from this position instead of arriving here after a descent.
Take a breath, brace hard, and drive straight up. Press through your heels and midfoot. Keep your chest up and your back tight. Lock out at the top.
The Reset
After locking out, lower the bar back to the pins under control. Let the bar settle completely. Release your brace, take a new breath, rebrace, and press again.
Each rep is a standalone effort. There is no fatigue accumulation from supporting the bar between reps. This lets you put maximum force into every single rep.
Programming Pin Squats
For Sticking Point Strength (Primary Goal)
- Set pins at your sticking point height
- 5 sets of 2-3 reps
- Weight: start at 80% of your regular squat max and adjust based on the pin height (lower pins = lighter weight needed)
- Rest 3-4 minutes between sets
- Perform once per week for 4-6 weeks
As a Squat Accessory
- After your main squat work
- 3 sets of 3-5 reps
- Weight: 70-80% of max
- Rest 2-3 minutes
- Rotate pin heights every 2-3 weeks to address different portions of the range of motion
Block Periodisation Approach
I use this with competitive lifters training at gyms around KL:
- Weeks 1-3: Pins set 5cm above parallel (quarter squat range). Heavy weight - 100-110% of full squat max. This overloads the lockout.
- Weeks 4-6: Pins at parallel. Moderate-heavy weight - 85-95% of full squat max.
- Weeks 7-9: Pins at bottom position. Lighter weight - 75-85% of full squat max. This builds strength from the deepest position.
- Week 10: Test full squat max.
This top-down approach builds confidence with heavy loads first, then progressively develops strength through deeper ranges.
Common Pin Squat Mistakes
Bouncing Off the Pins
The bar should start from a complete dead stop every rep. If you are letting the bar drop onto the pins and immediately bouncing up, you are using elastic energy from the plates and bar - defeating the purpose.
Wrong Pin Height
Setting the pins at a random height does not target your specific weakness. Film your squats, identify the exact sticking point, and set the pins there. A difference of even 5cm changes which muscles are primarily responsible for the lift.
Incorrect Body Position
If you set up under the bar with a different back angle or foot position than your normal squat, the carryover will be limited. Pin squats should mimic your regular squat position at that specific depth. Same stance, same back angle, same knee position.
Going Too Heavy Too Fast
Because there is no eccentric stress, some lifters load pin squats much heavier than they should. Start conservative. Your connective tissue and joints still need to handle the load, even without the eccentric component.
What Equipment Do You Need?
A power rack with adjustable safety pins. That is it. Every properly equipped gym in Malaysia has this. If your gym only has a Smith machine, you can do Smith machine pin squats, but the fixed bar path will not transfer as well to free barbell squatting.
The safety pins must be sturdy enough to hold the loaded barbell from a dead stop. Most commercial rack pin sets handle loads well beyond what any individual lifter would use. If you are training in a home gym with a budget rack, test the pins with a few lighter sets before loading up.
Pin Squats vs Pause Squats: What Is the Difference?
Both remove momentum, but in different ways.
Pause squats still involve a normal descent with an eccentric phase. You stop at the bottom but retain some residual tension in your muscles and tendons. The stretch reflex is reduced but not eliminated.
Pin squats start from a dead stop with zero momentum and zero stored elastic energy. They are harder per kilogram of weight used and develop concentric-specific strength.
Use pause squats for general bottom-end strength and technique work. Use pin squats for targeted sticking point development. Both have a place in a well-designed programme.
Real Results From Pin Squat Training
One of my clients - a 28-year-old engineer from Cyberjaya, 78kg body weight - had been stuck at a 130kg squat for five months. His sticking point was obvious on video: the bar would slow to a crawl about 10cm above parallel.
We ran a 6-week pin squat block with pins set right at his sticking point. He worked up to 120kg for triples on pin squats. When he retested his full squat, he hit 142.5kg on his first attempt. The pin squat strength translated directly because we trained the exact position where he was failing.
That is the beauty of pin squats. They are not glamorous and they do not feel athletic. But they build the specific strength that turns a failed squat into a made squat.
Part of our comprehensive guide:
The Complete Guide to Personal Training Methods in Malaysia→Also in this series:
Related Articles
Find a Personal Trainer
Ready to put this into practice? Connect with a certified personal trainer near you, or explore by service and goal.